Steps to Visualize a 3D Design at CGPro
At CGPro, we understand that a quality 3D design not only helps customers easily visualize the project but is also a powerful tool for convincing investors. Below is the process of rendering a professional 3D design that we carry out for each project.

Step 1: Collect Information and Project Requirements
The 3D visualization process begins with gathering all information and requirements from the customer. This includes architectural drawings, technical details, design style requirements, colors, and materials. We work closely with our customers to understand their wishes and goals.
Step 2: Plan and Set Up the Project
After collecting information, the CGPro team will create a detailed plan for the visualization process. This includes analyzing design elements, determining the tools and software to use, as well as establishing specific timelines to ensure project progress.
Step 3: Create 3D Model
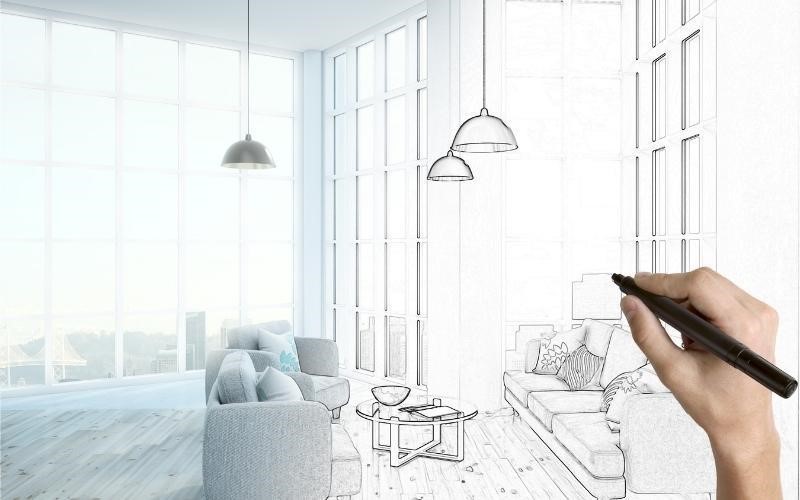
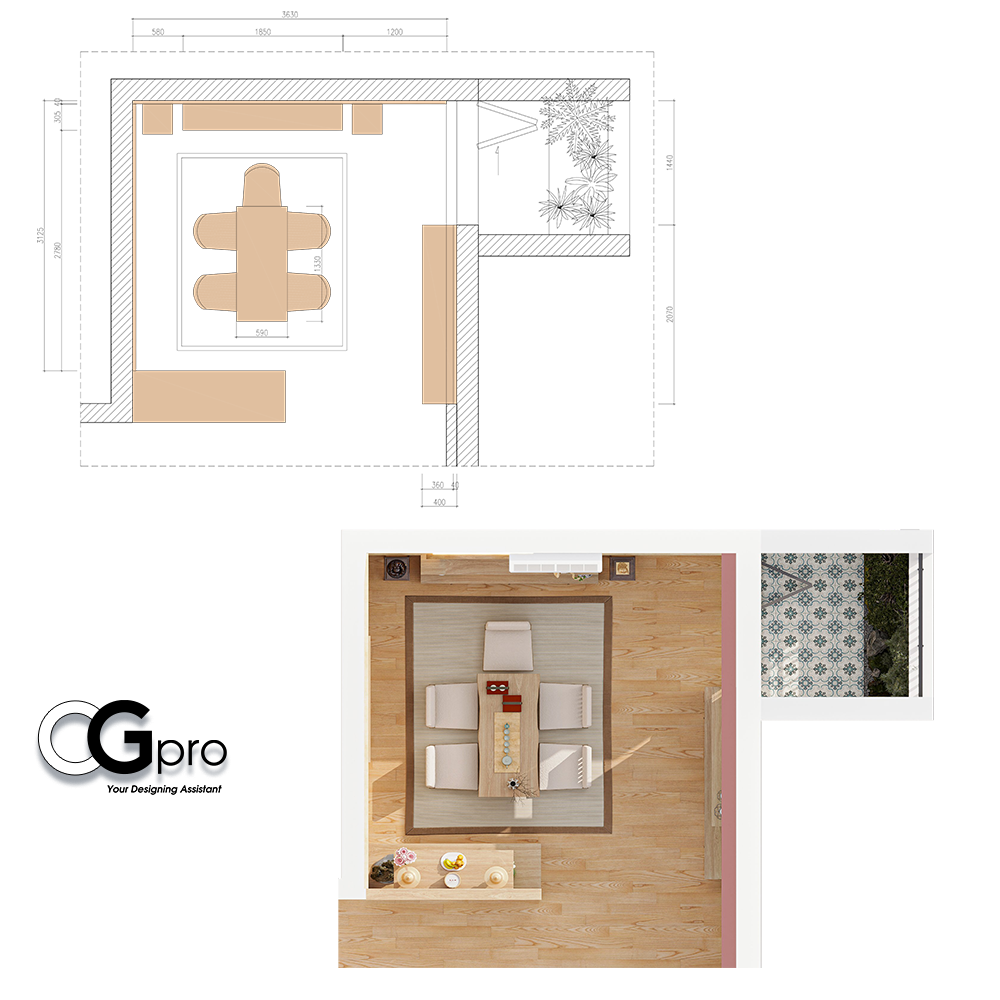
Based on the drawings and information collected, we started creating 3D models using professional software such as 3ds Max, SketchUp, or Revit. This phase includes the construction of the basic structure, from walls, floors, and ceilings to detailed elements such as windows, doors, and stairs.
Step 4: Add materials and lighting
After completing the 3D model, we proceed to assign materials and lighting settings to the space. This includes choosing and applying materials such as wood, stone, metal and establishing natural and artificial light sources to create realistic and vivid effects.
Step 5: Edit and perfect details
During this phase, we focus on refining small details and optimizing the 3D model. This includes adjusting proportions, adding decorative elements, plants, furniture and other details to complete the design. We also make edits based on customer feedback to ensure maximum satisfaction.

Step 6: Rendering
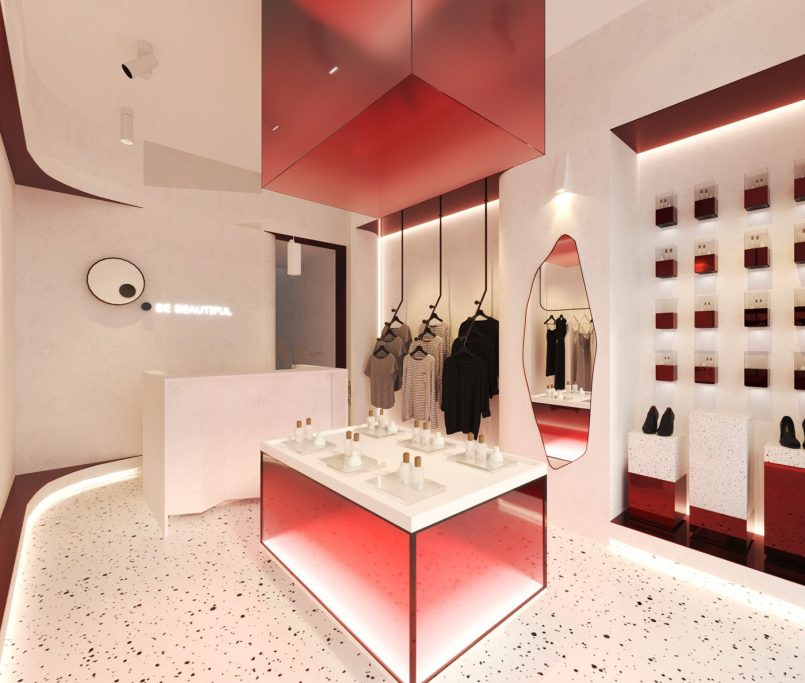
Once the 3D model is complete, we use export (rendering) tools such as V-Ray or Corona Renderer to create high-quality images. The export process involves creating different views, from overview to detail, aimed at providing a realistic and comprehensive view of the project.
Step 7: Complete and Submit
Finally, we conduct a final quality check before delivering the product to customers. We ensure that all requirements are fulfilled and the 3D design is of the highest quality. Customers will receive compatible image files, videos or even 3D models upon request.

The 3D texture demonstration process at CGPro not only ensures accuracy and high quality but also brings absolute satisfaction to customers. With a team of experienced experts and the support of advanced technology, we confidently bring optimal 3D texturing solutions to all architectural and interior projects.
Contact CGPro today! We are ready to listen and bring the best solution to you.